

Gareth's Robinhood 2B Site
MENU
The Donor
Stripping Donor
The Collection
The Build Diary
Links
Modifications
Hoodies
Home
ADVERTS
31st August 2002 - Day 1 - 5 Hours
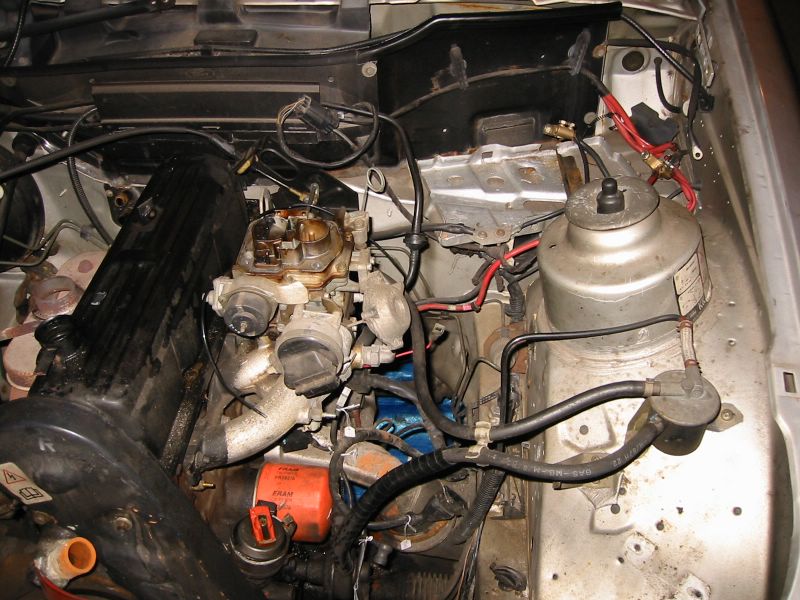
I decided to start with front of the car - removing all the front electrics and starting on the ancillary engine electrics.
Before I did any dismantling I completed an engine flush and then drained the oil, then the coolant was also drained.
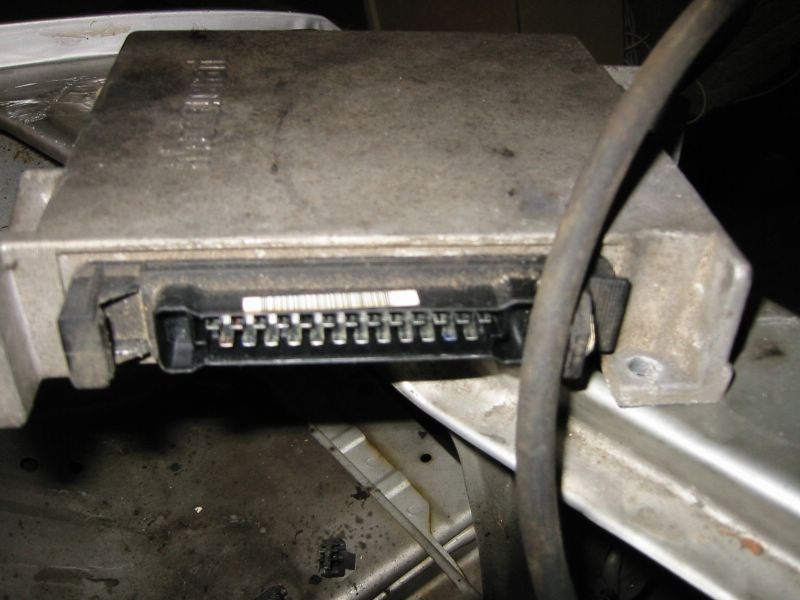
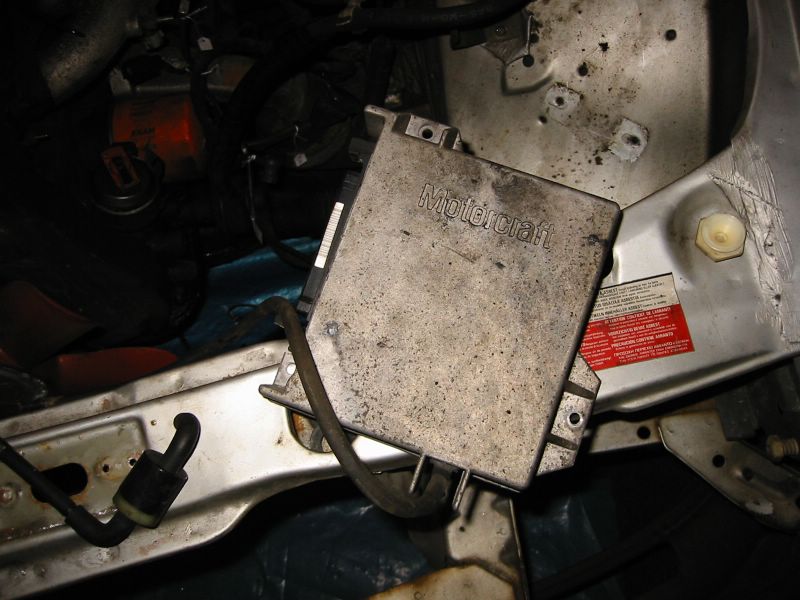
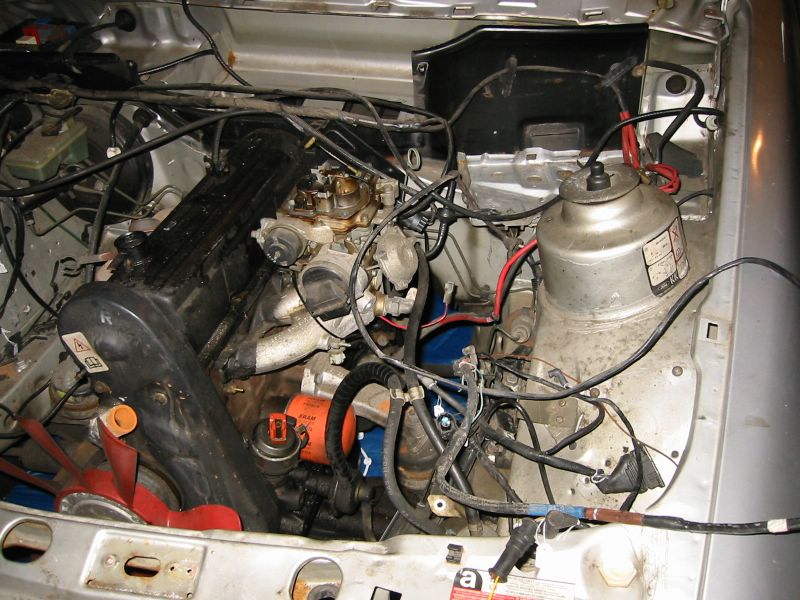
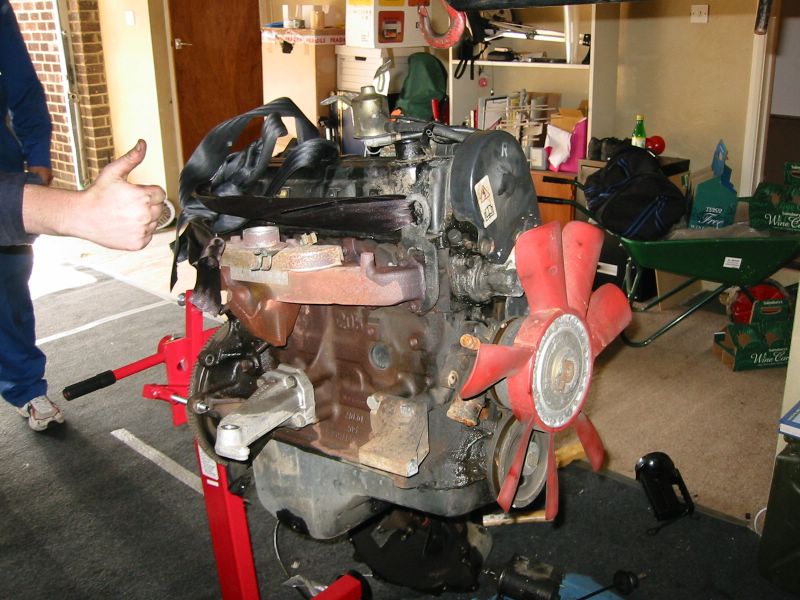
I then moved on to the radiator and coolant hoses, and then the headlights and indicators. While tackling the ancillary electrical items in the engine bay, following the Haynes manual, I found a unit that does not appear anywhere in the manual. After some investigation, it seems to be some kind of rudimentary engine management system - there were sensors going into it and some interestingcabling going to the carbs - looks like I will need this.
If anyone knows what this is, I would appreciate an email....
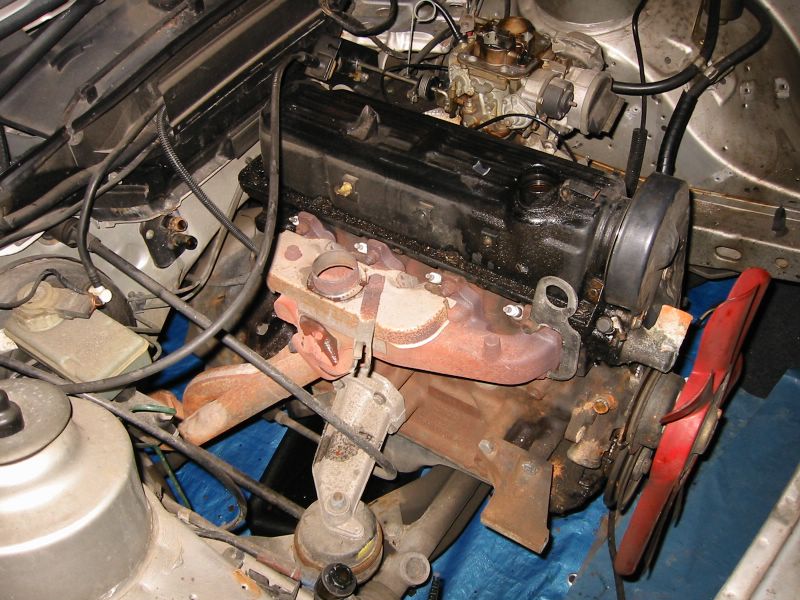
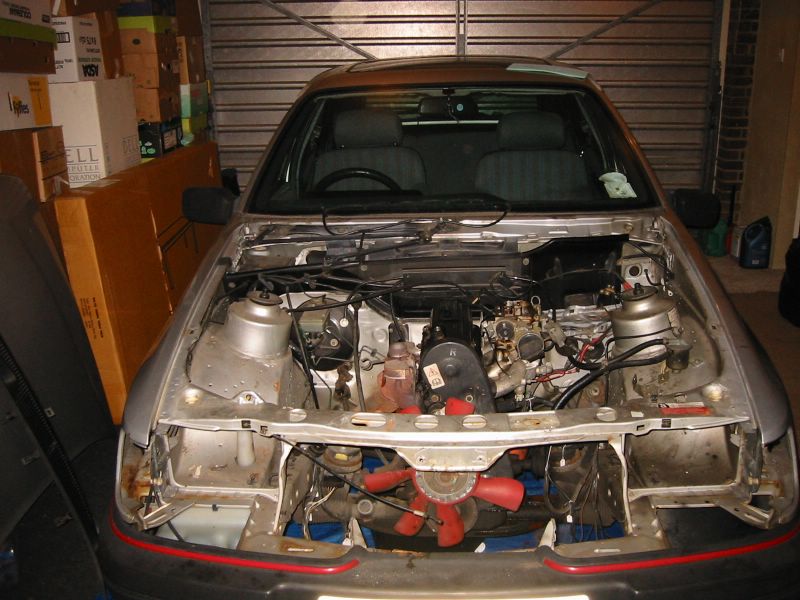
That's pretty much all I did today - here are some pictures once I'd tidied up.
1st September 2002 - Day 2 - 5 Hours
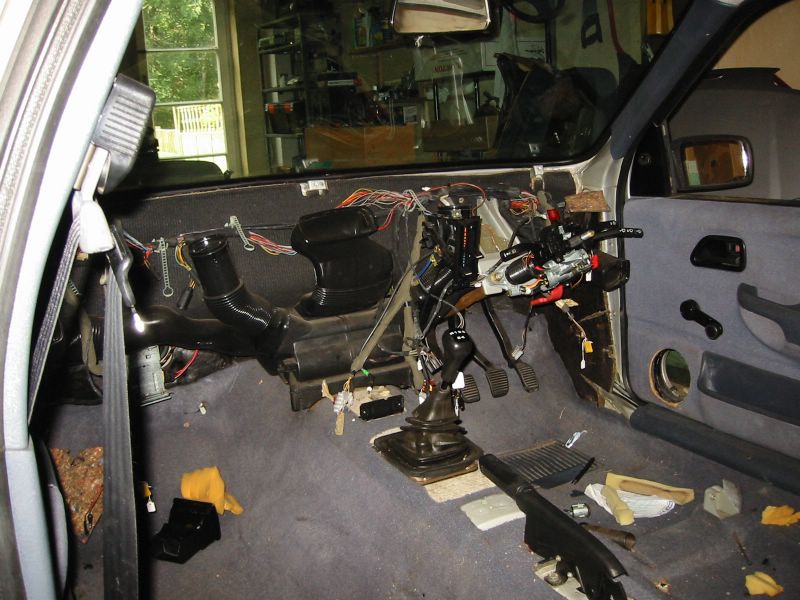
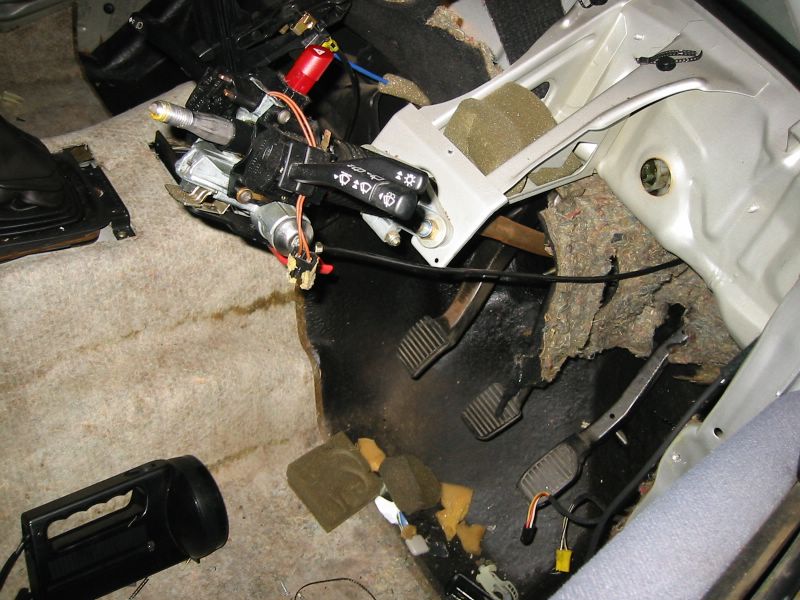
Carried on stripping the Sierra. I removed the seats and the facia - this included removing the steering wheel and the instrument panel. All went well apart from a small concern I have over the speedo cable.
The Haynes manual advises you to push and twist the clip on the back of the instrument panel to release the speedo cable. Although the shroud seemed to remove properly, the cable was still attached� Anyway I ran out of time, so I will revisit this next week.
Next weekend is the Beaulieu Auto Jumble - and It's my birthday weekend - so I'm going to spend far too much and hopefully meet up with some of the 'hoodies' from the south coast, in particular Ian Milne who let me have a look round his 2B before I took the plunge.
2nd September 2002 - Day 3 - 4 Hours
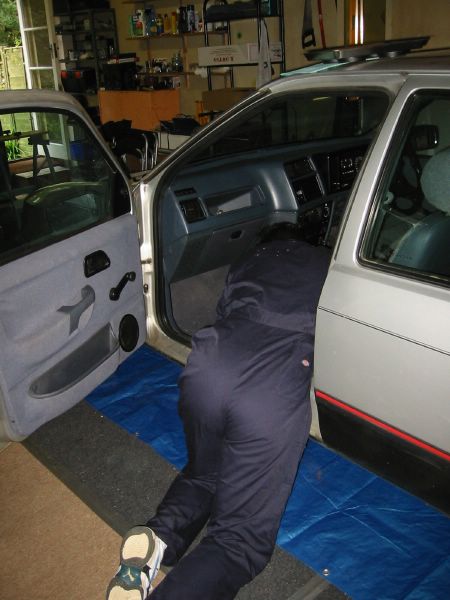
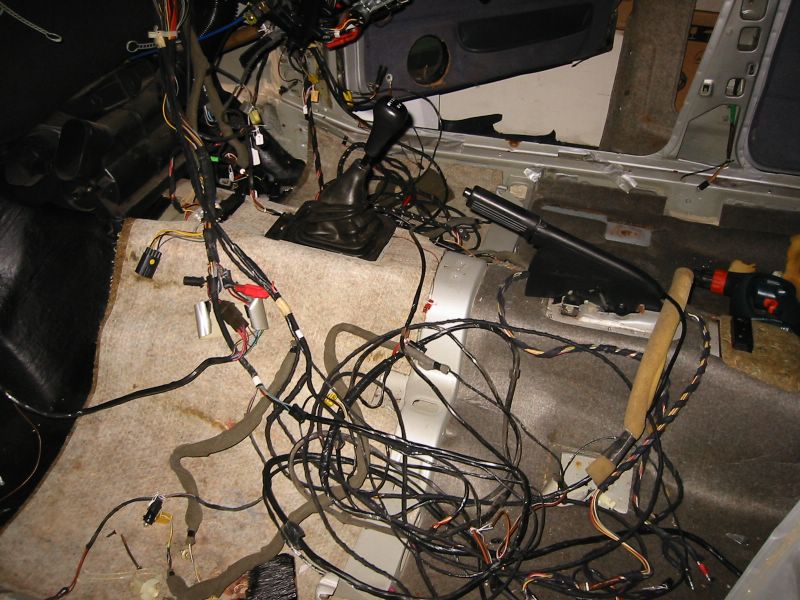
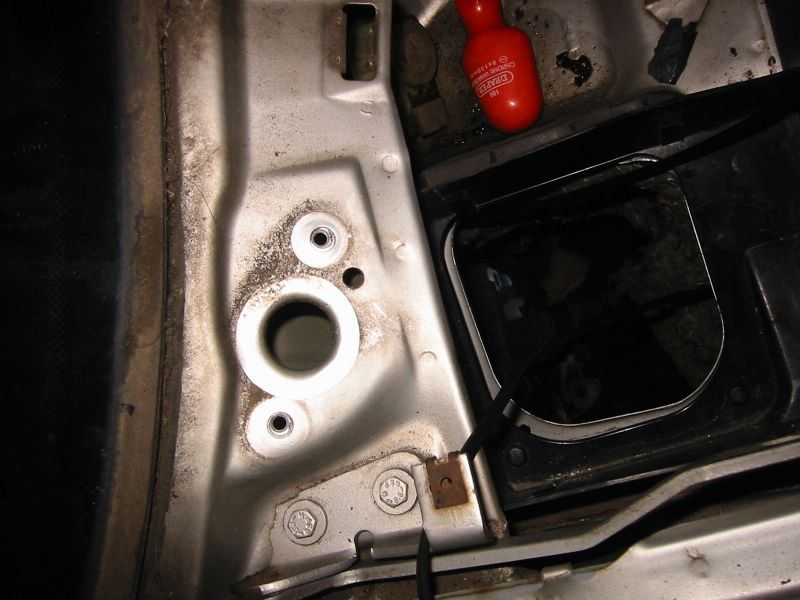
Decided to spend a couple of hours after work removing the loom from the rear of the car. I removed the rear light clusters and then threaded the loom through the rear of the car. At the same time I removed rear trims and carpets.
The steering column cabling was detached and labelled. I then went to the engine bay and looked at removing the fuse box and freeing the loom totally. However, it seems the loom is trapped behind a portion of the brake system - so decided to have dinner and start again tomorrow.


3rd September 2002 - Day 4 - 4 Hours
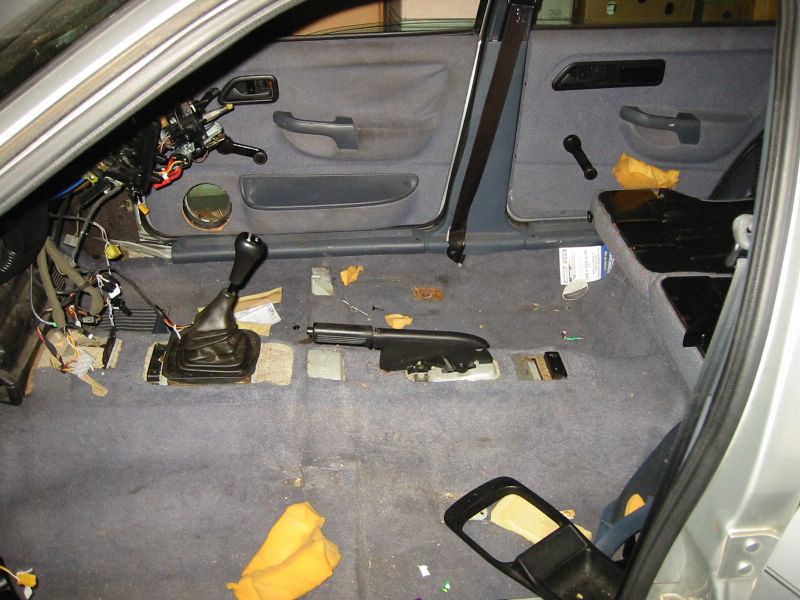
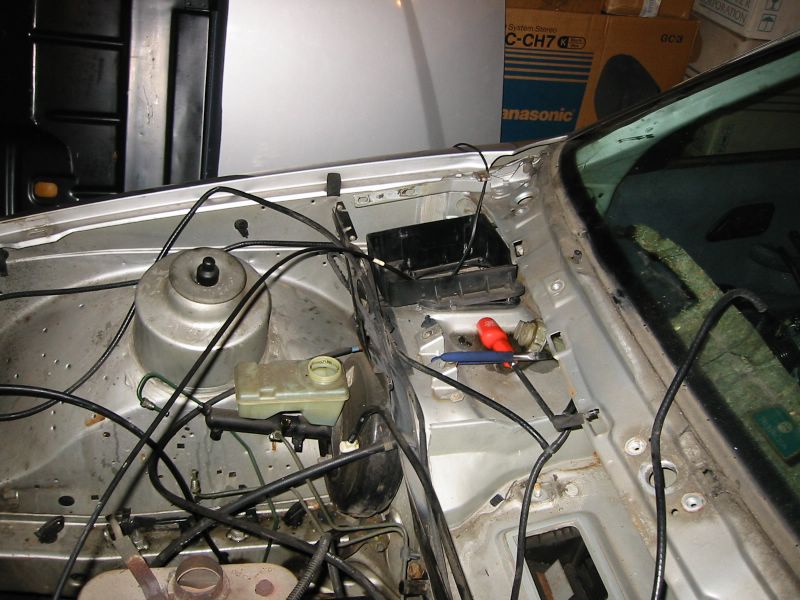
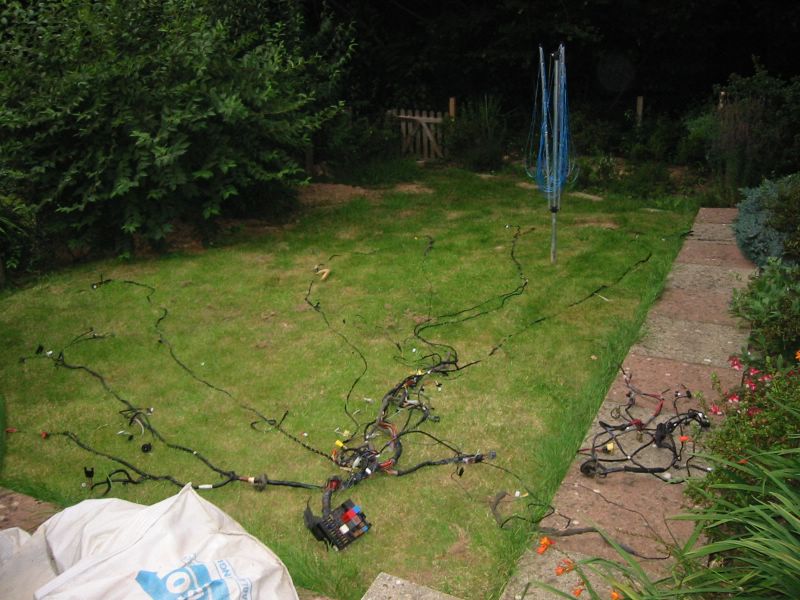
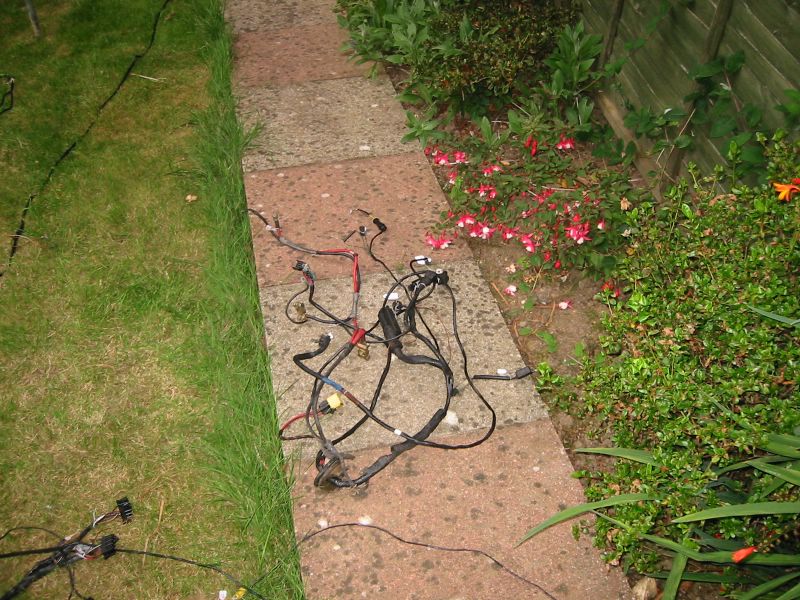
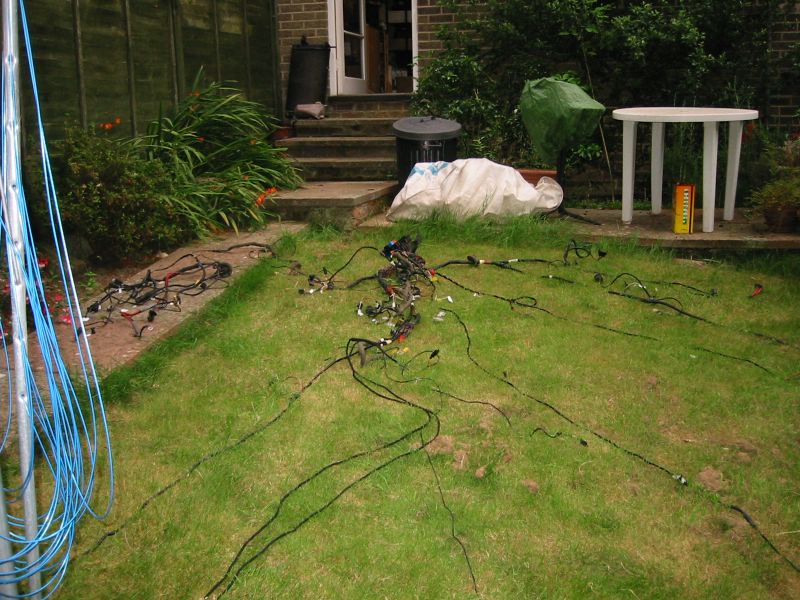
Bit the bullet today and attempted the total removal of the wiring loom. I was able to take the brake system component that was trapping the loom. When i looked at removing the fuse box, I noticed that the centre of the fusebox comes away from the surround. This means you can remove the loom and and fuse box before breaking you back trying to undo the 8mm bolts that hold the surround to the bulkhead.
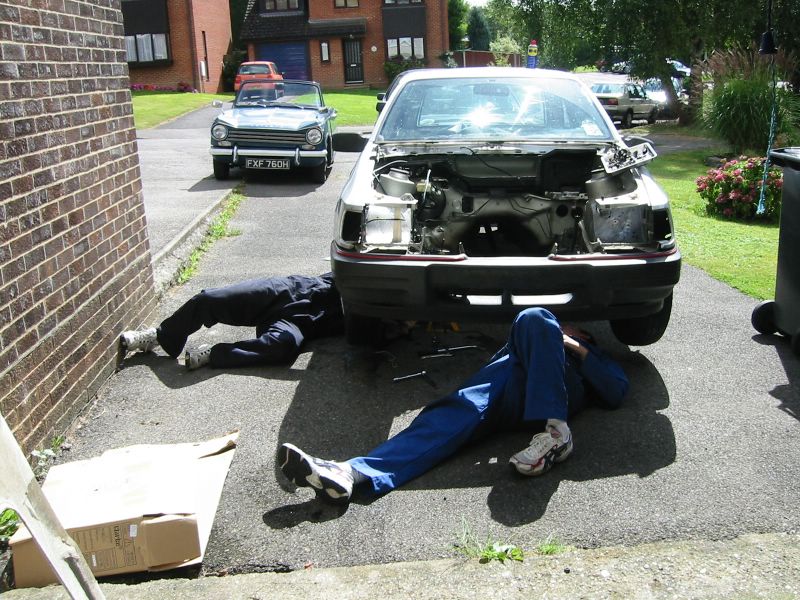
Then started removing the last items attached to the engine in preperation of lifting the engine out of the car. Decided i was going to remove the front of the car to make the engine removal as easy as possible - time for a new toy! - B&Q are selling a reciprocating saw for less than �40!
Now only the suspension and engine to go!
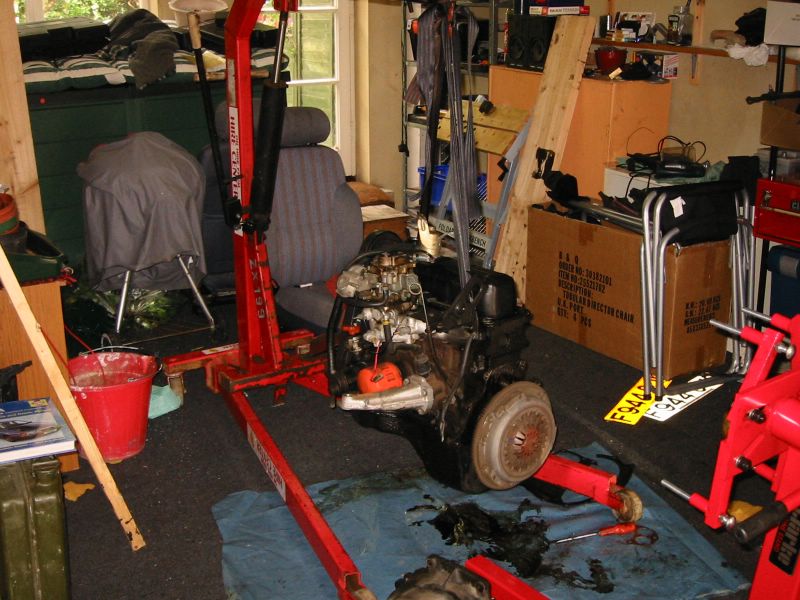
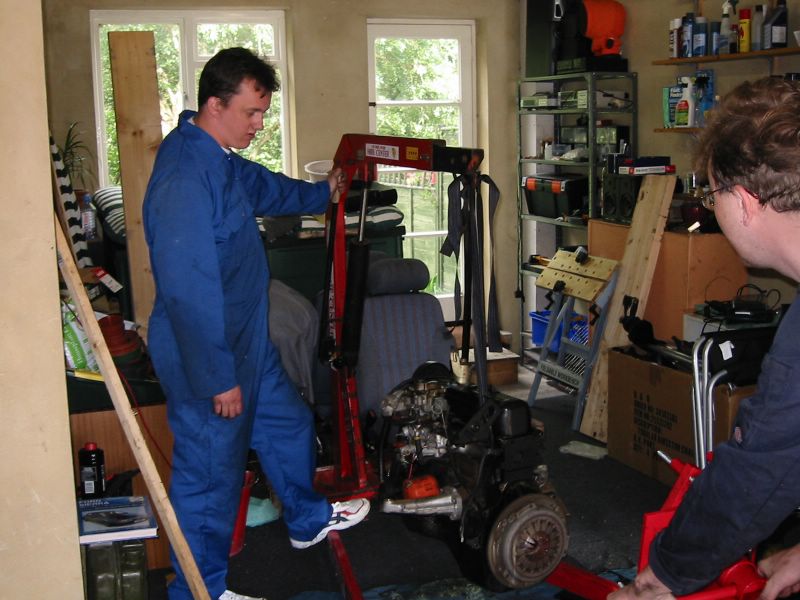
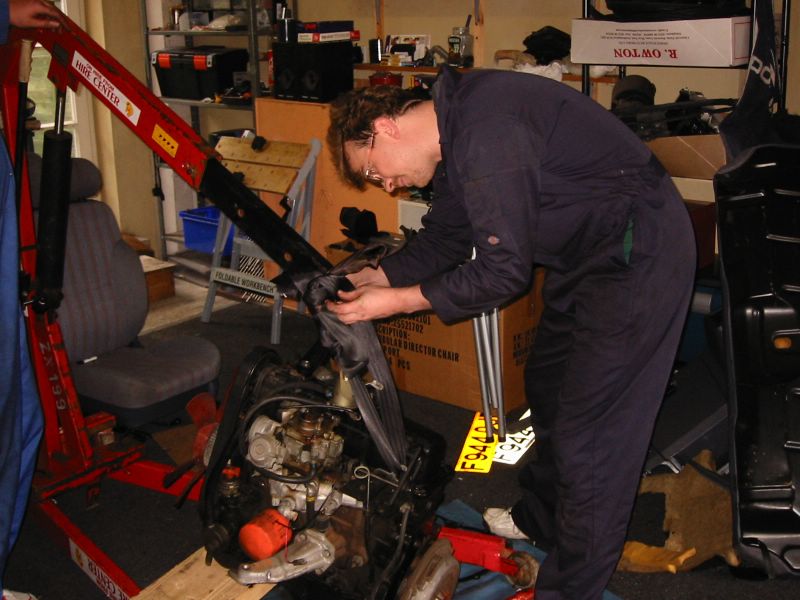
7th September 2002 - Day 5 - 5 Hours
Hired an engine crane today to finally remove the engine from the car and push the car on to the drive ready for removal of the axles and collection.
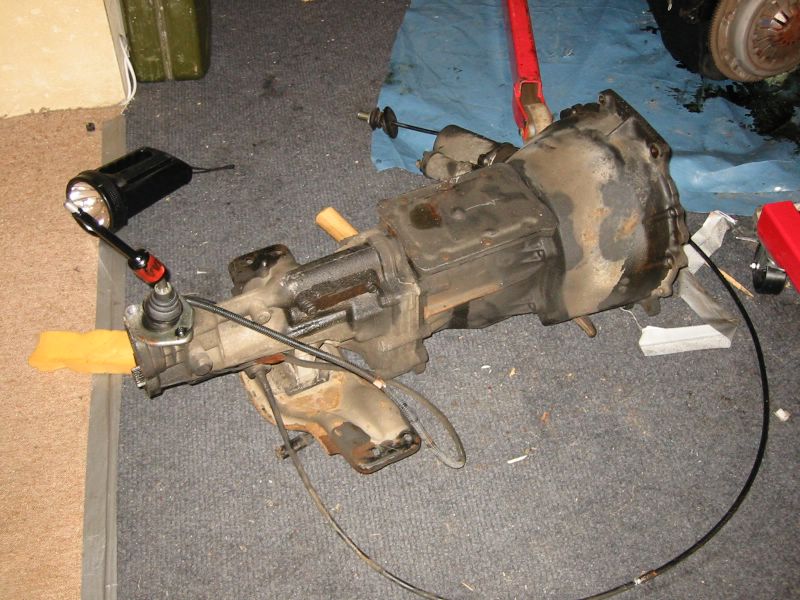
I had decided to remove the gearbox and engine at the same time - this would have been easier if the prior owner(s) hadn't rounded of the torx screws in the gearstick unit and so made it difficult to remove. In fact I decided not to bother and left the gearstick in.
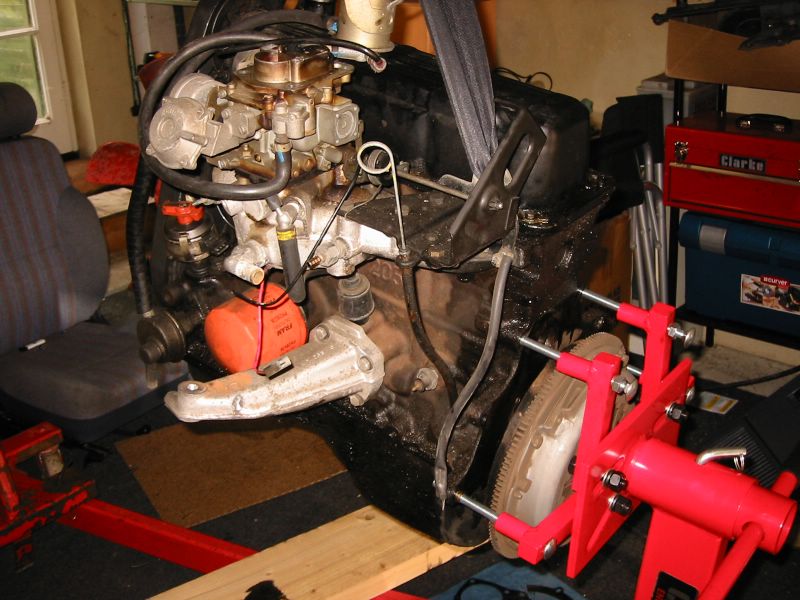
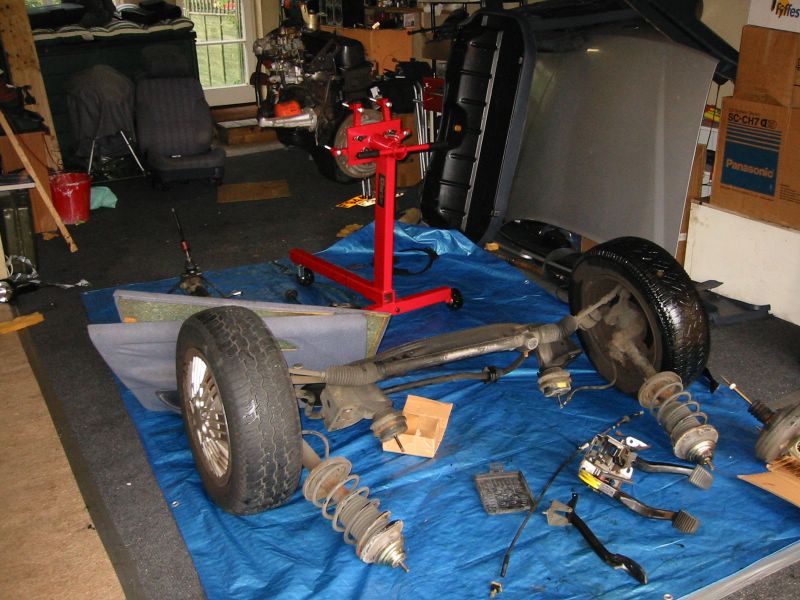
I purchased a engine stand from Machine Mart, however you do have to supply your own bolts. We decided on M10 coach bolts, and used M10 nuts to lock off bolts for safety.
We then removed the front axle. We decided to remove the whole assembly and then strip off the items we needed once the axle was free of the car.
8th September 2002 - Autojumble!
Went to the Beaulieu autojumble today, this show is huge! I didn't pick up much, just a set of spanners and some Gunk - However Jon was able to find a Triumph Herald roof frame for free that needed some TLC.
14th September 2002 - Day 6 - 3 Hours
No pictures for this one. I removed the rear suspension and the stripped the front and back axle to components ready for cleaning and painting.
21st September - Day 7 - 5 Hours
The five hours above also includes changing the discs and pads on my wife's SAAB 900i - they were REALLY bad!
Cleaned off the rear sub frame and trailing arms and painted them green using Plastikote enamel. also painted the rear drums (well my wife did, the cost of fixing her car;-).
Then removed the rocker cover, sump and cam belt cover and painted these green as well. The engine will be black high temp paint.
22nd September - Day 8 - 3 hours
Fitted the newly painted engine components back onto the engine so I can start preparing the engine to be pressure washed (or steamed cleaned if I can hire the equipment).
16th October - Update
Life has been a bit hectic the last few weeks so the web site has been left to fester a bit. OK - to recap:
- Steam cleaner was hired - engine, gearbox and rear diff were cleaned, and most of the particles ended up on me - but was very fun - hired from HSS.
- Borrowed an Ultrasonic bath from Ian Milne - cleaned the carb and inlet manifold (nice and shiny;-).
- Painted engine and front hubs - hopefully finish painting the rest this coming weekend.
Only
one other thing to say:
if you have carpets in your garage don't tip brake dust from the rear
drums on to it - it's a bugger to clean, and an industrial steam cleaner
is more likely to melt the underlay than clean the carpet.