Gareth's Robinhood 2B Site
MENU
The Donor
Stripping Donor
The Collection
The Build Diary
Links
Modifications
Hoodies
Home
ADVERTS
| June |
July |
August |
September |
October |
|
Collection weekend
I watched the
first three videos and roughly planned the build order. When this is completed
I'll add it to the website.
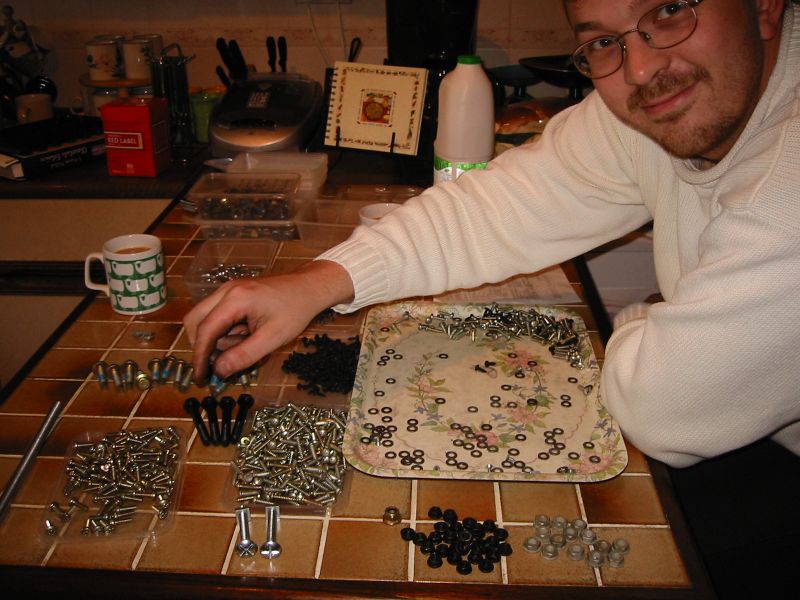
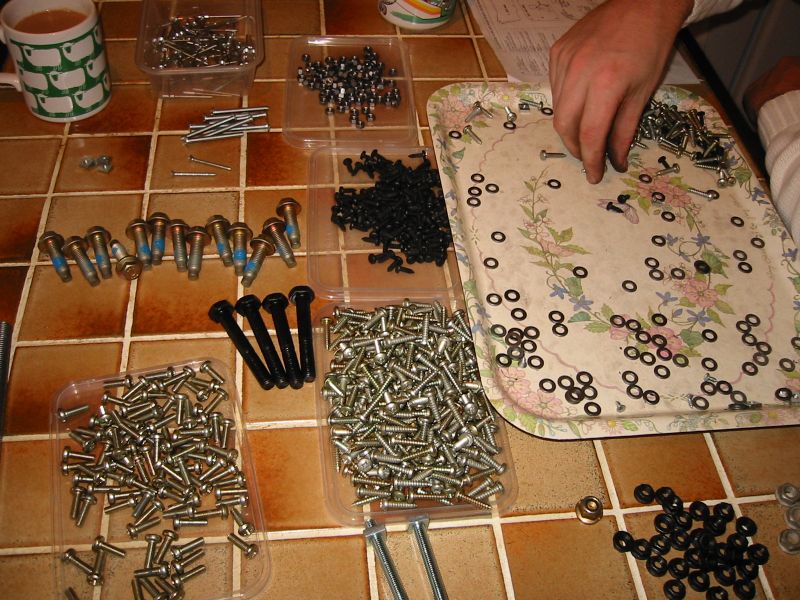
I was itching to do something so I sorted the screws and bolts into boxes.
I think RHE leave you to do this so you have something 'safe' to do before
finishing the videos!
I also went to
my local tyre shop and decided on Firestone
tyres for the alloys. They were a little more expensive than I would
have liked to pay but they do look nice - and they have a rubber profile
that protects the alloys from kerbing.
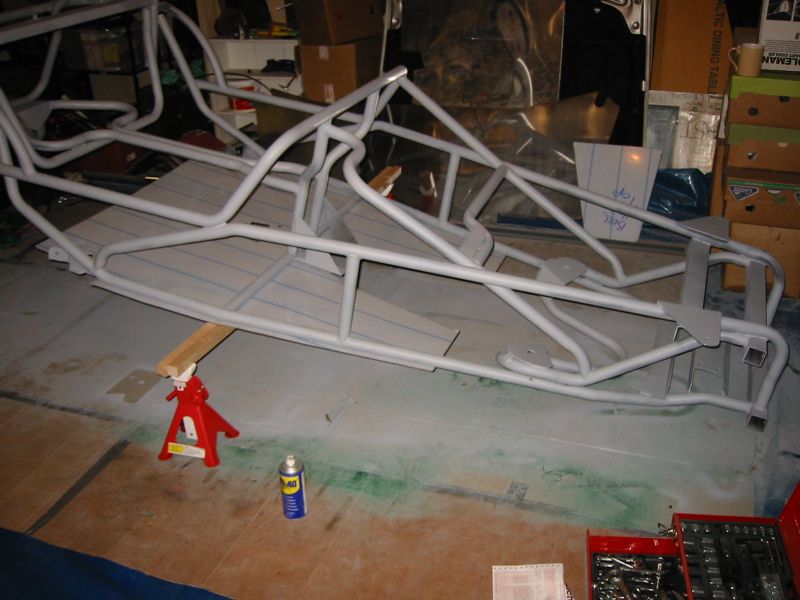
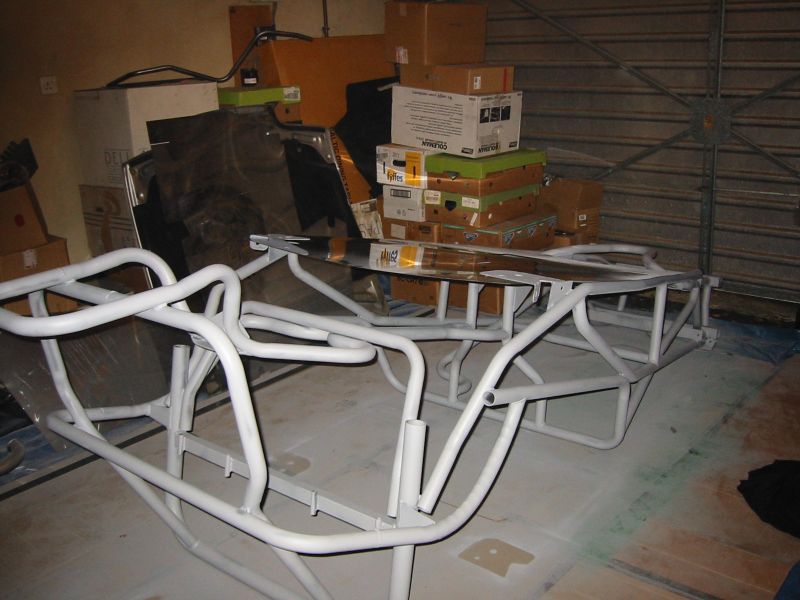
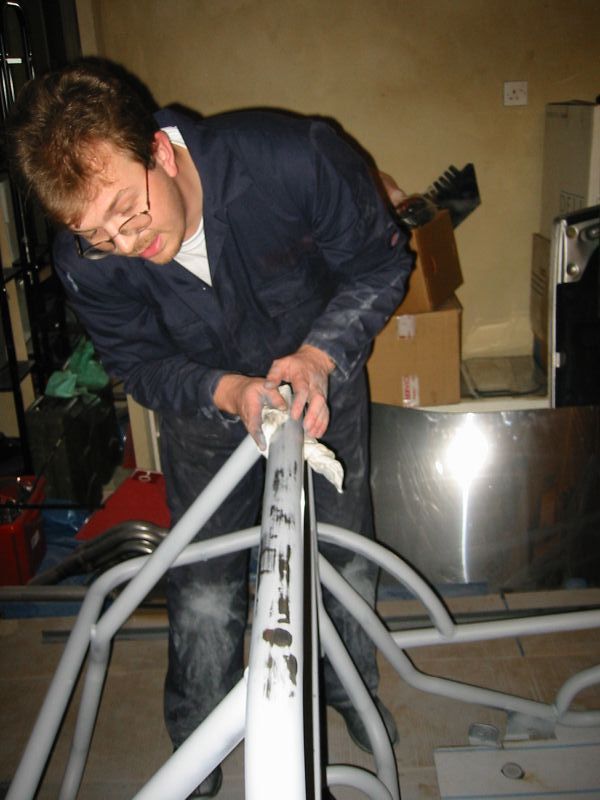
Then I started tidying the chassis and giving it a coat of primer. Initially
I was going to paint the whole chassis, but after viewing the video it
was obvious that most of the chassis is hidden and so this would be a
waste of money. I have bought a tin of BR green to be used on the exposed
areas on the final stages of the build.
30th October
Didn't really
do a huge amount today but wanted to keep the page as updated as possible.
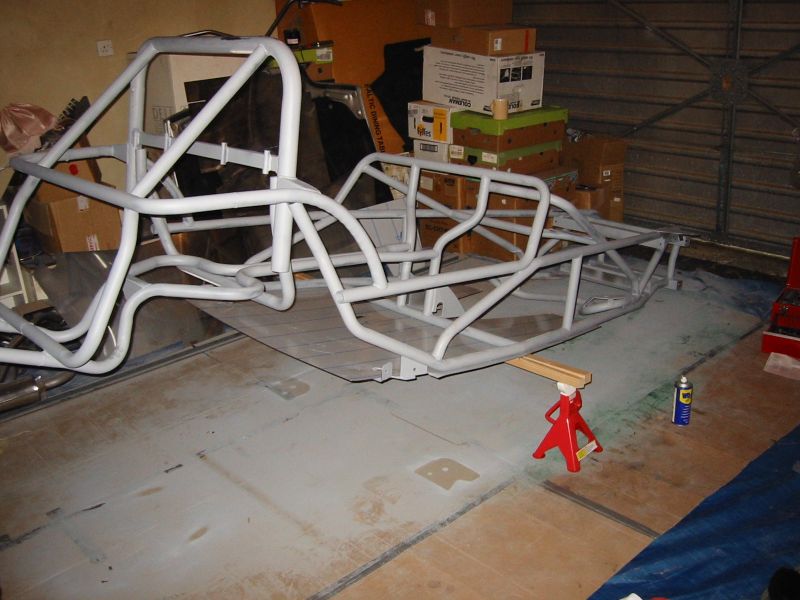
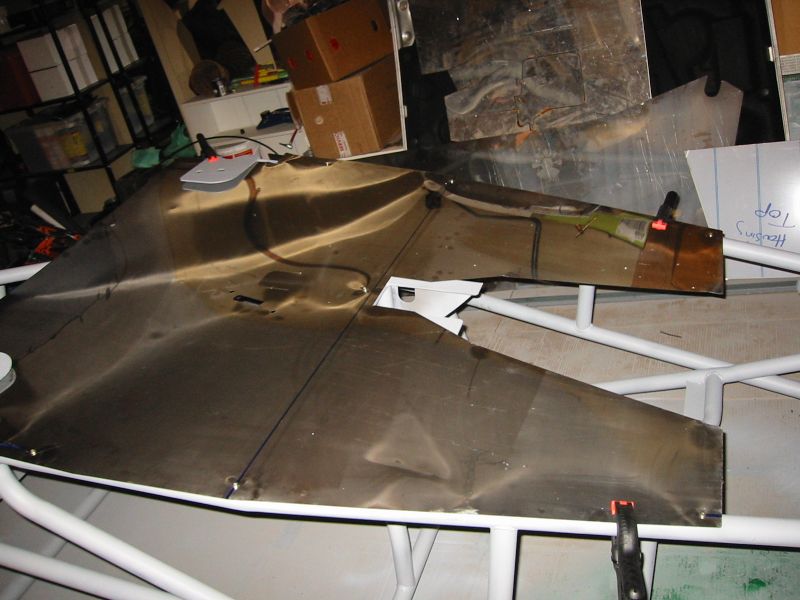
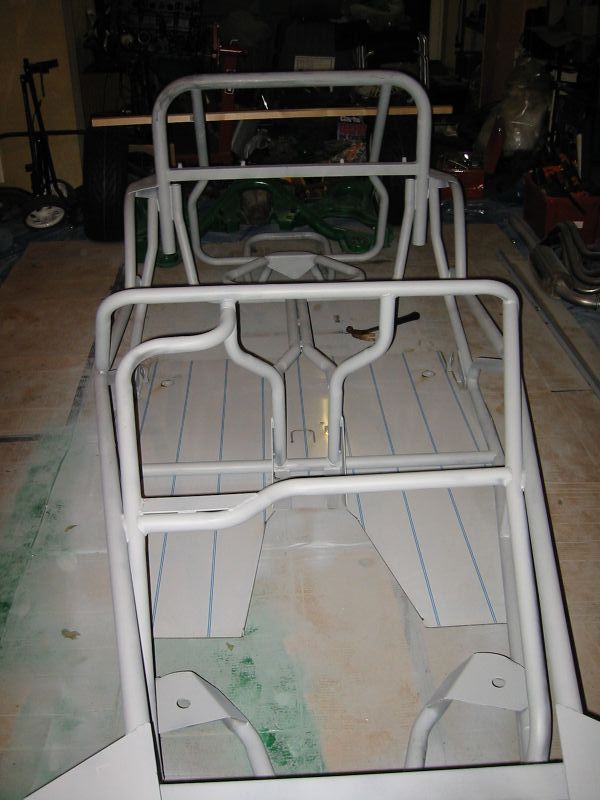
I finished painting the chassis and then presented the floor to the chassis.
Straight away I noticed that the floor didn't fit in the way shown on
the video, so I checked the video again and noticed that the rear of the
floor was the incorrect shape. I reshaped it with some tin snips and clamped
the floor to the chassis.
I have decided to follow the build video's advice and use self tapping screws throughout. I may at a later date decide to change them all for rivets, but at least during the early stages I can't make it too permanent.
31st October
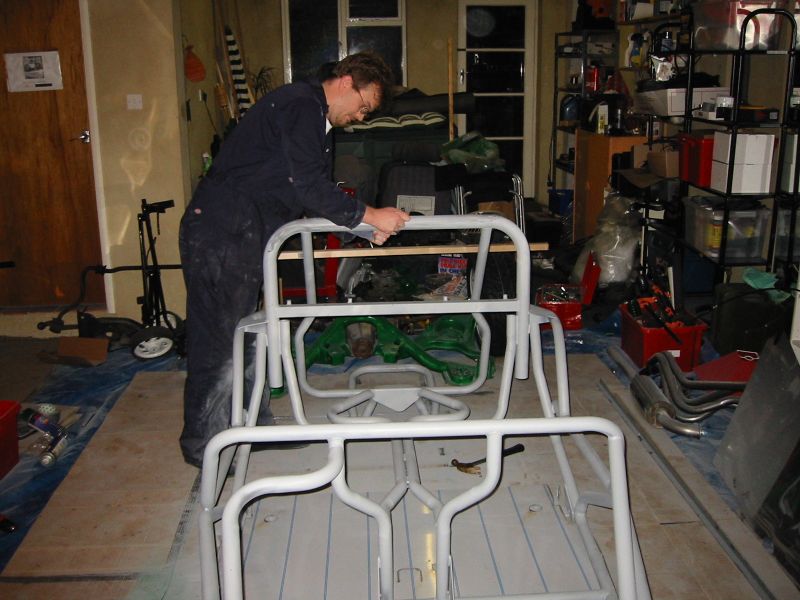
Moving quite
well towards the first major milestone - the rear subframe installation.
I watched Video A again hoping to see a way round stripping the front
McPherson struts for the cup washer on the top. After looking through
all the other parts I have, it was obvious that I didn't really have an
option.
Completed the floor using 3.5mm Cobalt drill and screws.
We rolled the chassis the right way up again and wet & dried the roll
bar - I want to get a coat of BR green on the roll bar soon, at least
before the panels start going on.
2nd November
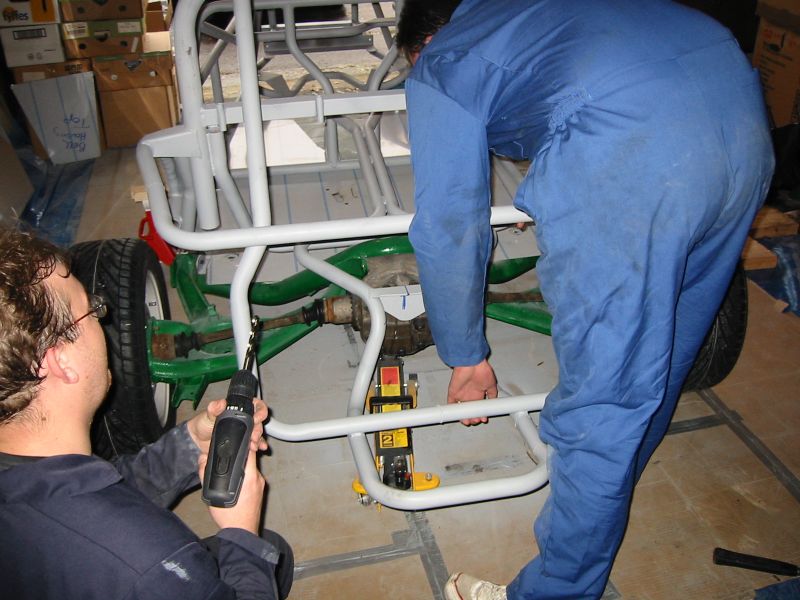
This weekend has been the busiest yet! Jon was helping out at the local beer festival on Friday and Saturay night. On Friday Bernard and I went down to Eastleigh for beer and um well beer actually.
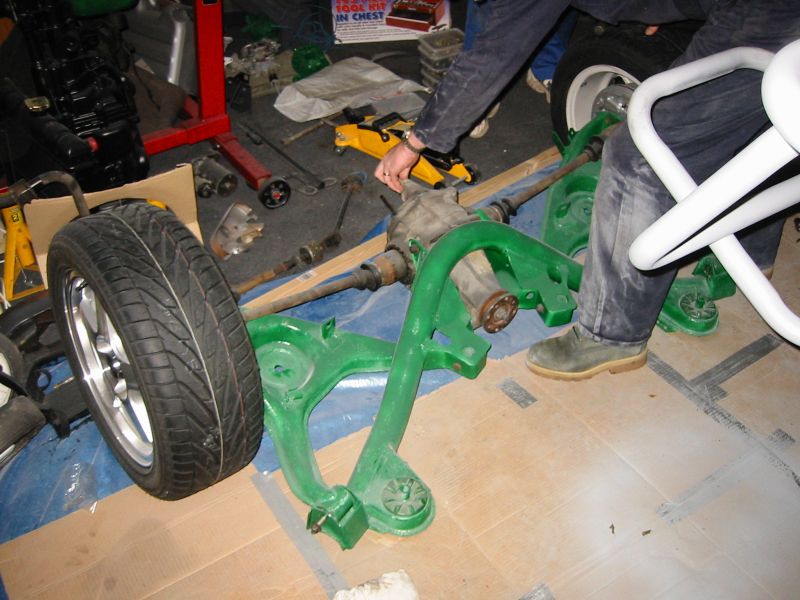
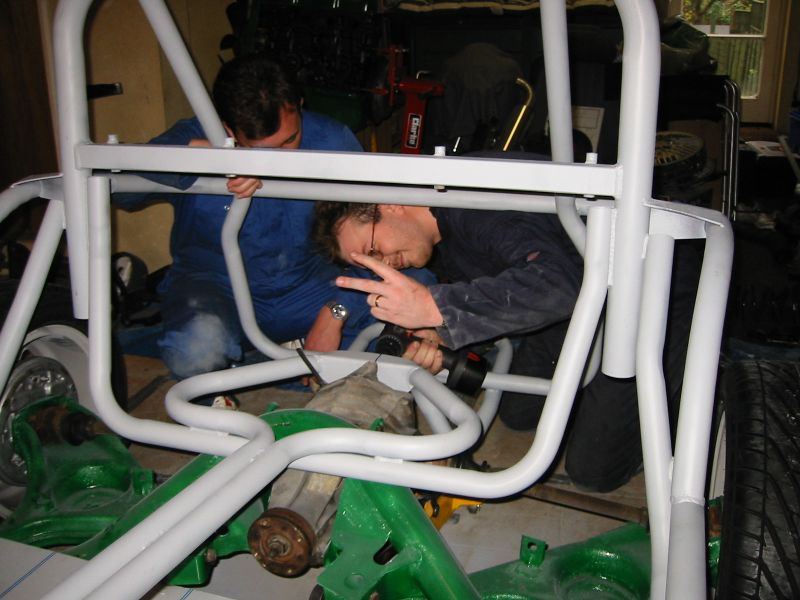
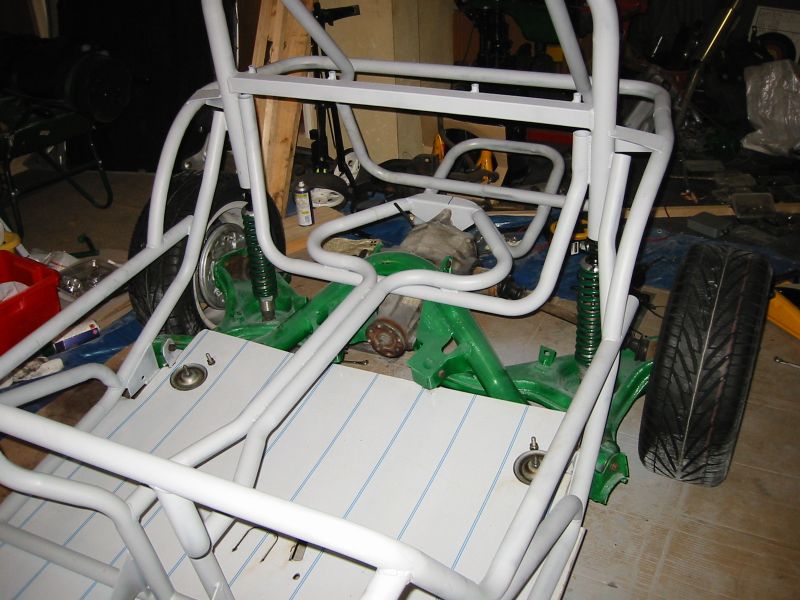
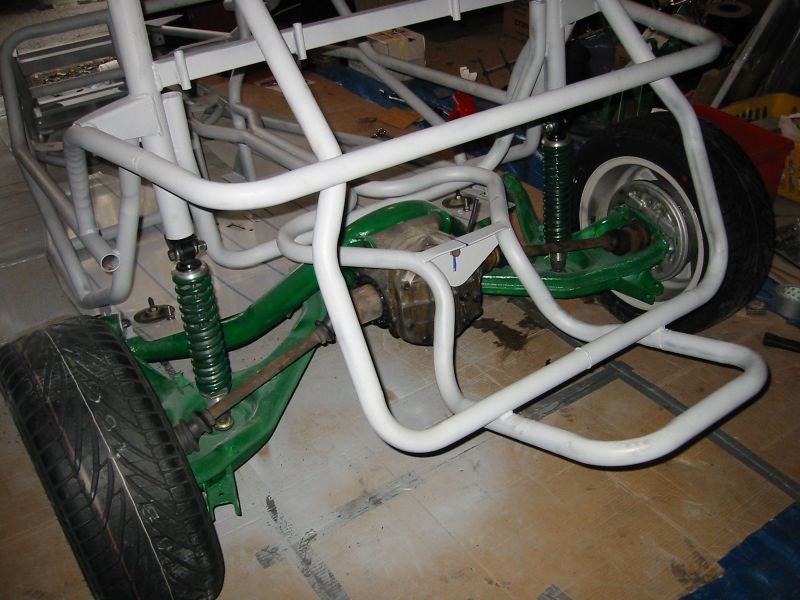
Come Saturday morning, we were all feeling surprisingly good (soon fixed by the required section of build video ;-). After a fortifying cup of tea and a bacon sandwich, we started on the rear axle. We presented the rear subframe to the chassis and realised that the subframe needed a slight change to ensure an easy fit - the forging surrounding the outer bushes needed to be ground down to allow the bolts to fit snugly into the holes on the chassis. The bolt into the differential was simple, as was the drilling and bolting of the subframe - although I was happy to have two extra sets of hands!